190
190
In addition to adding datasets (Referencing LOGS Content in Notebook - LOGS), you can attach supporting files directly to an entry as attachements. Attachments are best used for supplementary material (for example, PDFs, images, spreadsheets, or reports) that should remain within the entry, but does not need to be structured, searchable, or parsed as a LOGS dataset.
Attachments vs. Datasets (when to use which)
Use datasets when the file(s) represent measurement output that should be stored as a LOGS entity with metadata (e.g., sample/project assignment, instrument, parameters) and—when supported—can be previewed with a dedicated viewer and reused elsewhere in LOGS. Use attachments when you simply want to keep a file alongside the entry text for context or reporting (quick upload, lightweight reference, minimal structure). If a file type is supported as a dataset, you can still start with an attachment and convert it later.
Upload Attachments
- Open the notebook entry and switch to Edit mode.
- Drag and drop a file into the editor.
- Choose As Attachment or As Dataset (if the file format is supported).
The uploaded file is displayed within the entry (typically with a preview, if supported) and also appears in the notebook’s attachment list under More → Admin → Attachments.
Note: This attachment list is visible to global administrators only.
Attachment Actions within an Entry
For attachments inserted into an entry, the three‑dot menu (available in Edit mode only) provides the following options:
- Go to attachment
- Hide/Show header
- Enable/disable collapsible view
- Hide/Show viewer
- Remove reference
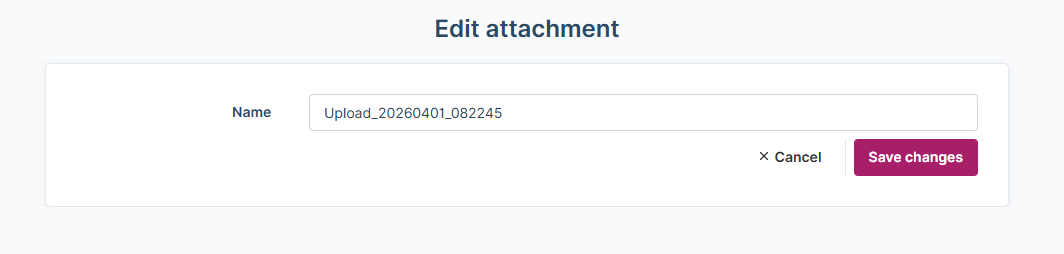
Rename Attachement
- Single‑file attachments are, by default, named after the uploaded file name.
- Attachments consisting of multiple files are, by default, named using the upload date.
To rename an attachment or a collection of attachments:
- Open the three‑dot menu and select Go to attachment.
- Click Edit, change the name, and save the changes.