
Connect Instrument PC via LOGS-Bridge

Feb 10, 2026
 993
993
The Bridge Client is designed to push data from your instruments to LOGS-SDMS. You can download the LOGS-Bridge Client from within LOGS-SDMS, under More:Data Import:Bridges:+ Add Bridge.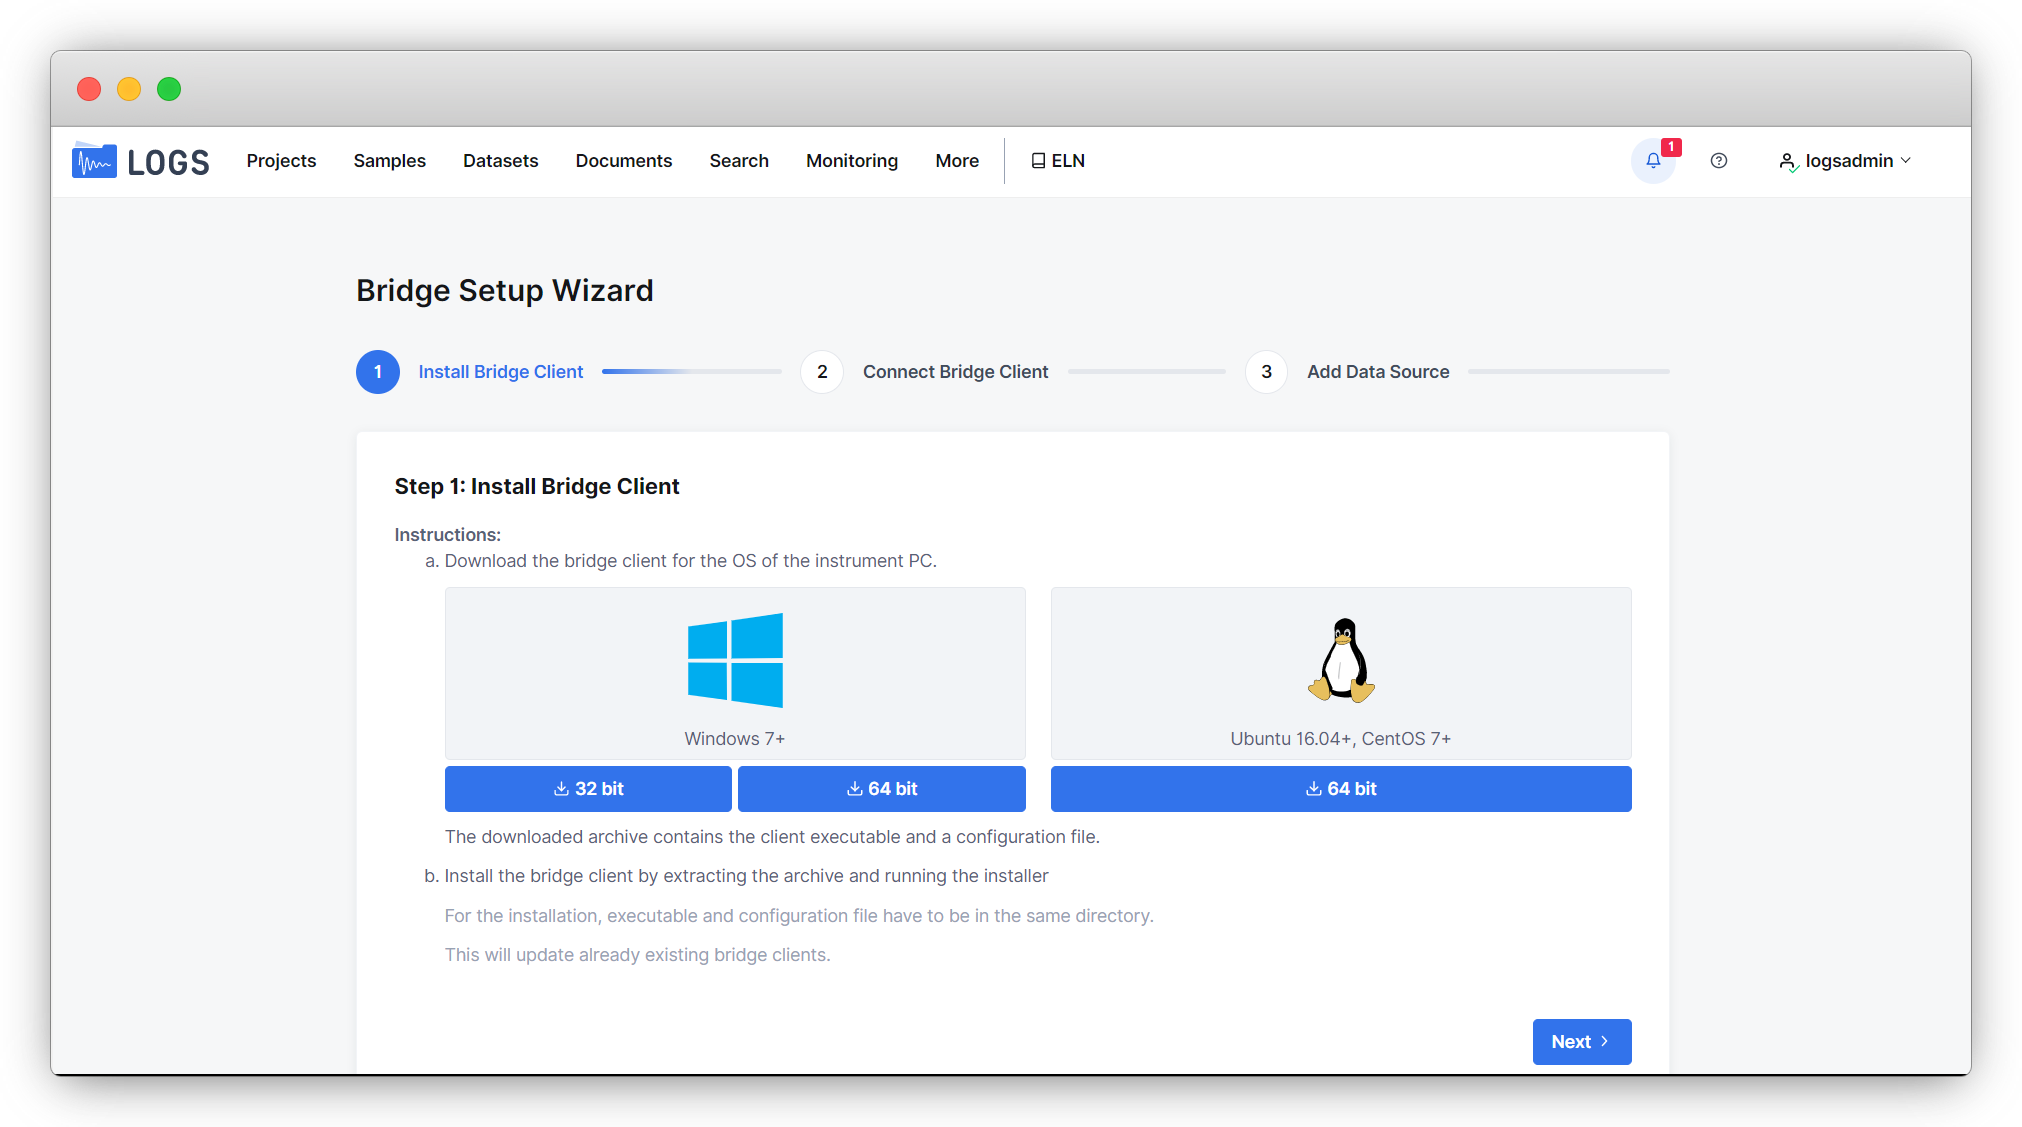
Install and connect the Bridge Client
- Download the Data Bridge Client
-
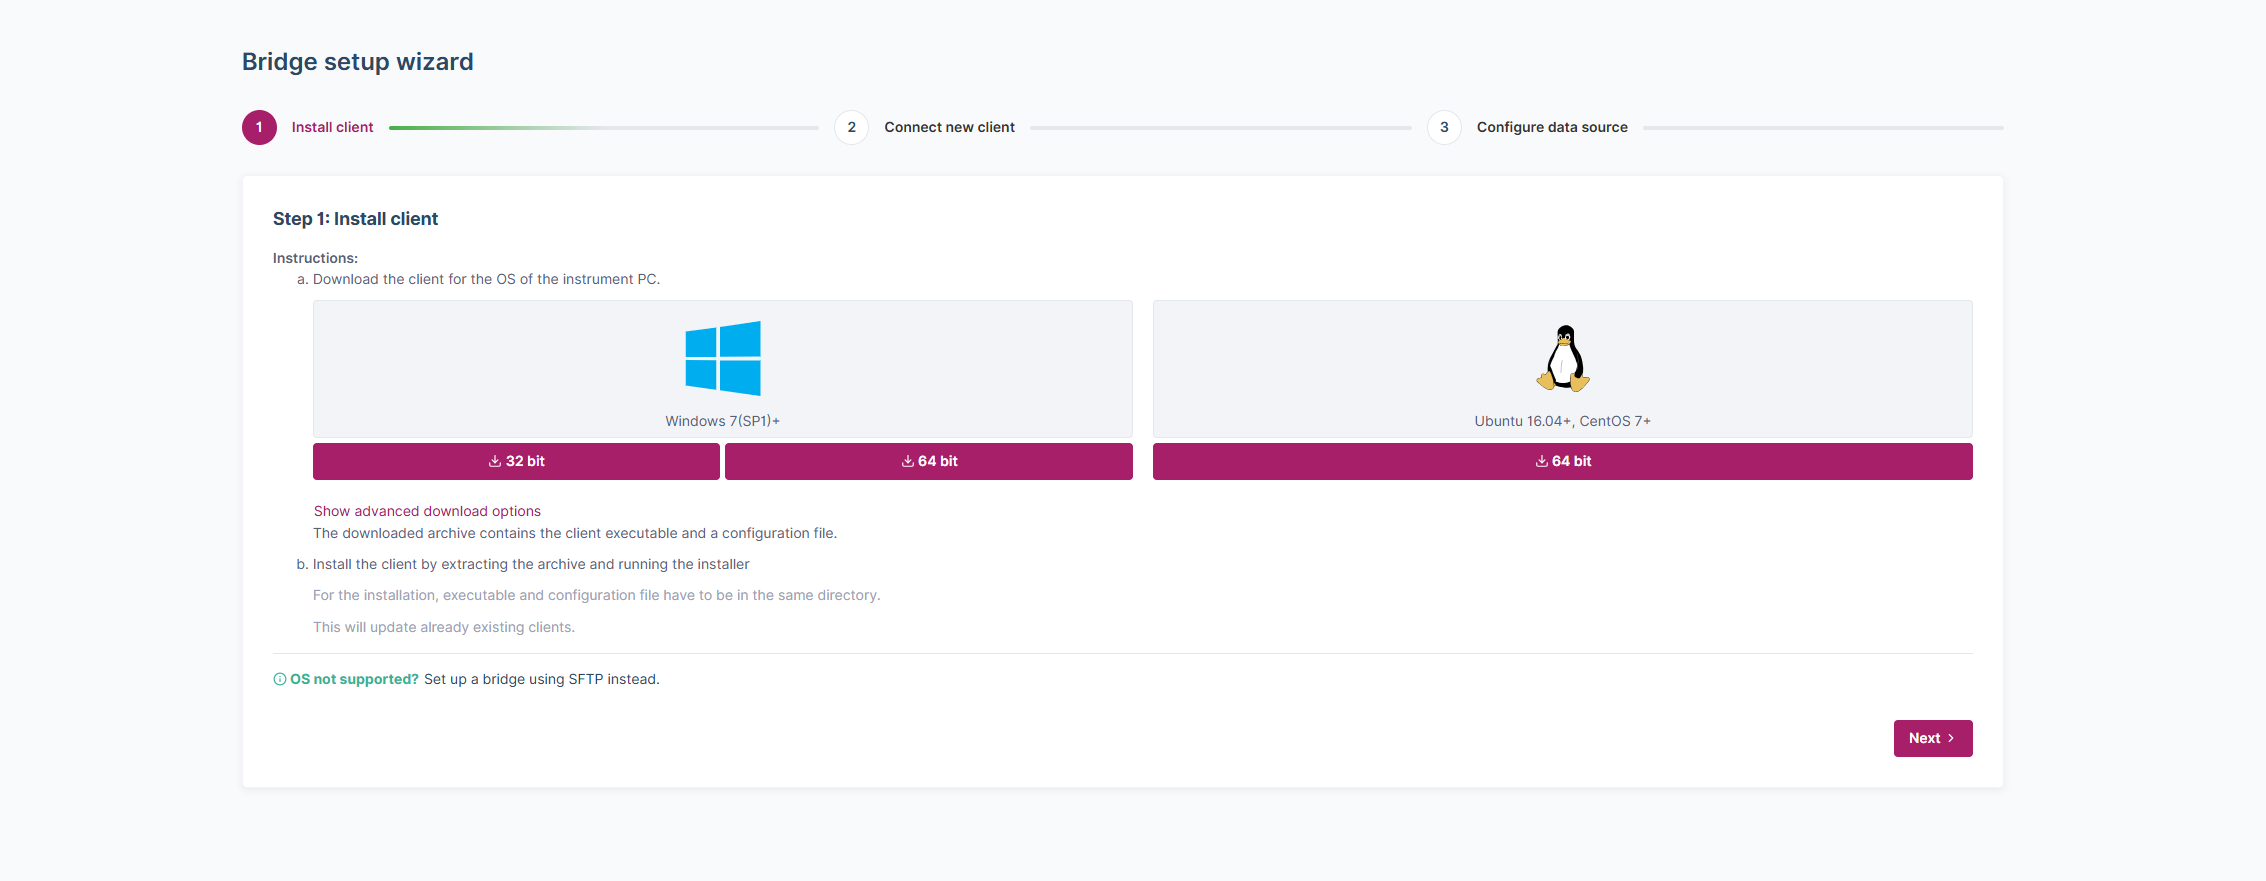
Download the appropriate version of the Bridge Client for the operating system of your instrument PC. The downloaded archive will contain the client executable and a configuration file.
-
- Install the Data Bridge Client on Windows
- Extract the contents of the downloaded archive.
- Run the installer to install the Bridge Client. Ensure that both the executable and the configuration file are in the same directory during installation.
- If the installation is successful, click Next.
- Install the Data Bridge Client on Linux
- Navigate to the Download folder
cd Downloads - Unpack the downloaded archive
unzip LOGS-Bridge*.zip - Navigate to the extracted directory
cd LOGS-Bridge* - Make the client executable
chmod u+x logs-autoload-client-*-linux Start client with root permissionssudo ./logs-autoload-client-*-linux
- Navigate to the Download folder
- Connect the Bridge Client
- Approve the respective client from the list to establish a connection.
- A green "connected" tag will appear if the connection is successful.
- Click on Configure Data Source to customize the data upload settings.
Restart Clients
If you encounter issues with the client, restarting it may help resolve the problem.
On Windows: Open Services, select the LOGS Data Bridge Clien, right-click and select Restart or just restart your PC.
On Linux: Use the following command: sudo service logs-autoload-client restart
The LOGS-Bridge Client ist designed for Windows 10+ (Windows 7 (fully patched SP1) has been tested, but is not officially supported.), Ubuntu 16.04+ and CentOS 7+.
Deinstallation
- Stop the running service:
sudo systemctl stop logs-autoload-client - Disable the service to prevent it from starting automatically:
sudo systemctl disable logs-autoload-client - Remove the service definition:
sudo rm /etc/systemd/system/logs-autoload-client.service - Reload the systemd manager configuration:
sudo systemctl daemon-reload - Delete the client installation directory:
sudo rm -Rf /opt/logs-autoload-client/
Adding and Configuring Data Sources
- Add a Data Source
- Navigate to More > Data Import > Data Sources and click Add Data Source.
- Select the Bridge for which you want to add the data source.
- Configure a Data Source
- Choose the data format of the data you wish to upload. If your instrument PC contains multiple data formats, you will need to add additional data sources, one for each format.
- Select the directory containing your data. Subdirectories will also be included.
- You can select a metadata mapping template from the list or create a custom mapping scheme (see Metadata Mapping - LOGS for more information).
- The default upload interval is set to 15 minutes. Adjust the upload interval to match your measurement times.
- Set the cut-off date to ensure only newer data is uploaded.

